Kamis, 13 Juni 2013

Install Android 4.0 on virtual box

  Tidak ada komentar
19.23


Hello GreenHackerz Readers.....................

The mobile smartphone and tablet industry seems to have a very prominent divide, with a lot of consumers having their favorite operating system and choosing to stick to hardware which is powered by their chosen OS. Obviously fans of Apple’s iOS use the iPhone and iPad devices, whereas Android lovers have a wide range of hardware to choose from due to the fact that the OS is available to multiple manufacturers.But what happens if you are a die hard fan of iOS, or Windows Phone but you still want to sample the delights that Android Ice Cream Sandwich has to offer? After recently getting my first taste of Android, I am severely tempted to shell out for a second device so I can have the benefits that both provide. For those that can’t, or won’t, purchase a second device then why not run Android 4.0 in virtualization on your desktop or laptop in order to see the Ice Cream Sandwich experience first hand? Android 4.0 is an operating system in its own right, but instead of running on a dual boot setup, we install and run ICS within a free of charge virtualization application known as VirtualBox. VirtualBox runs like any other application or program on your machine, but offers the benefits of being able to install a secondary OS within it which can be invoked quickly by the user. For all those die hard iOS and Windows Phone fans out there, this is a perfect way to experience the delights of Android.

Are you ready for a whirlwind journey down Ice Cream Sandwich lane? Buckle in and follow the simple steps below.

1. Head over to the official Oracle VM VirtualBox site and download the relevant VirtualBox binary for your computers operating system (Windows/Mac OS X/Linux/Solaris).

2. Find the saved location of the downloaded VirtualBox binary and install as you would with any other native application making sure to follow all on screen prompts and instructions.

3. Head on over to the VMLite website and download a copy of the Ice Cream Sandwich which has been preconfigured for virtualization and features seamless mouse support for navigation. The download weighs in at 89MB in size so may take a while to download depending on your connection.

4. Locate the downloaded "VMLite-Android-v4.0.4"file and extract the contents from within.

5. Once the VMLite-Android-v4.0.4 file has been opened, locate a file from within the archive called ‘VMLite-Android-v4.0.4.vbox‘ which as you can tell by the file extension is a pre configured VirtualBox file.


 6. Double click on the VMLite-Android-v4.0.4.vbox file which will load the VirtualBox application and boot up the ICS file.


7. When the boot menu is presented in VirtualBox, press ‘start‘ on the top toolbar and then if required select the ‘Android Startup from /dev/sda‘ option.


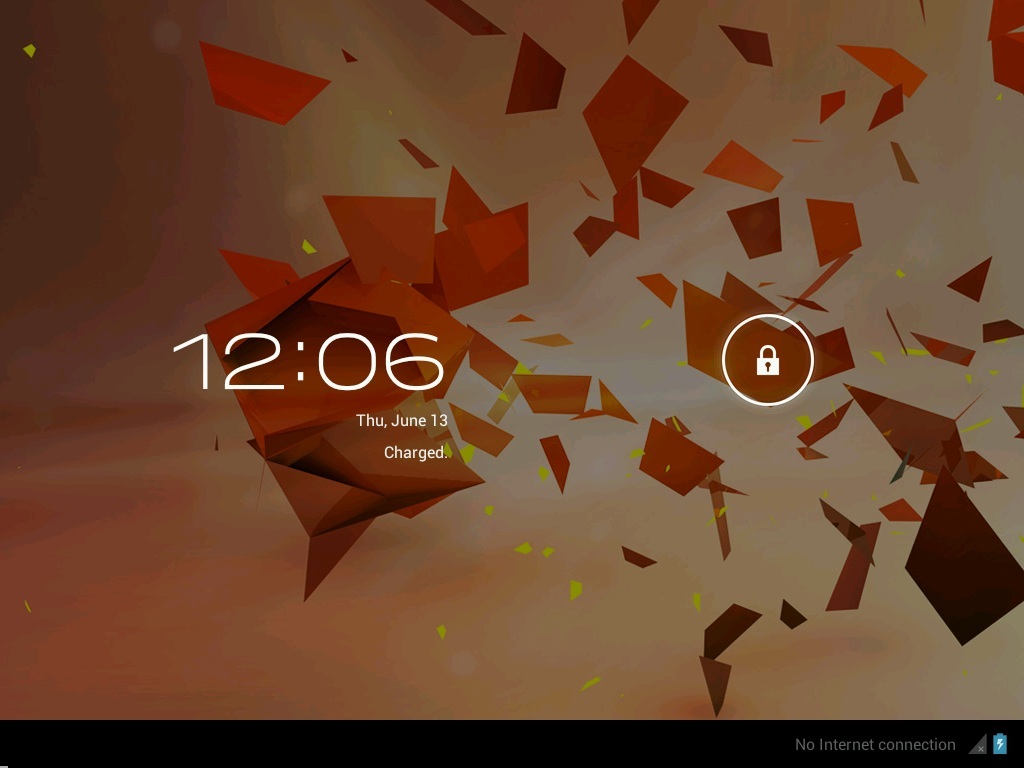
8. All steps are complete. Android 4.0 ICS should now be booting up allowing you to enjoy that Android goodness.


Windows and Linux users may find that an alternative, specific version Android 4.0 may be required, which can be found by visting the Android-x86 page. The performance of the Android ICS virtual installation will obviously not be as smooth as intended on an actual device built for purpose, but it does give a feel of the OS with apps being able to launch as well as widget customization.


I hope you all learned & enjoyed the article on installing android in virtual box
.

espérons qu'il vous plaira.
Enjoy the article.

Read More

Rabu, 27 Februari 2013

Apply Proxy Settings System Wide In Linux Box

  1 komentar
00.35


Hello GreenHackerz Readers......... 

This article is about the "Proxy Tunneling" in Linux and where it is necessary to use proxy tunneling.
First of all we talk about : What is Proxy and Proxy Tunneling?

PROXY SERVER:-
In computer networks, a proxy server is a server (a computer system or an application) that acts as an intermediary for requests from clients seeking resources from other servers. A client connects to the proxy server, requesting some service, such as a file, connection, web page, or other resource available from a different server and the proxy server evaluates the request as a way to simplify and control its complexity. Today, most proxies are web proxies, facilitating access to content on the World Wide Web.

A proxy server has a variety of potential purposes, including: 

1. To keep machines behind it anonymous, mainly for security.
2. To speed up access to resources (using caching). Web proxies are commonly used
     to cache web pages from a web server.
3. To prevent downloading the same content multiple times (and save bandwidth).
4. To log / audit usage, e.g. to provide company employee Internet usage reporting.
5. To scan transmitted content for malware before delivery.
6. To scan outbound content, e.g., for data loss prevention.
7. Access enhancement/restriction:
    * To apply access policy to network services or content, e.g. to block undesired sites.
    * To access sites prohibited or filtered by your ISP or institution.
    * To bypass security / parental controls.
    * To circumvent Internet filtering to access content otherwise blocked by governments.
    * To allow a web site to make web requests to externally hosted
        resources (e.g. images, music files, etc.) when cross-domain restrictions 
        prohibit the web site from linking directly to the outside domains.
    * To allow the browser to make web requests to externally hosted content on  
       behalf of a website when cross-domain restrictions (in place to protect 
       websites from the likes of data theft) prohibit the browser from directly   
       accessing the outside domains. 

PROXY TUNNEL:-
Proxy Tunnel is a program that connects stdin and stdout to a server somewhere on the network, through a standard HTTPS proxy. We mostly use it to tunnel SSH sessions through HTTP(S) proxies, allowing us to do many things that wouldn't be possible without ProxyTunnel.

Proxy tunnel can currently do the following:
> Create tunnels using HTTP and HTTPS proxies (That understand the 
    HTTP CONNECT command).
> Work as a back-end driver for an OpenSSH client, and create SSH connections
    through HTTP(S) proxies.
> Work as a stand-alone application, listening on a port for connections, and then
    tunneling these connections to a specified destination.

If you want to make effective use of ProxyTunnel, the proxy server you are going to be tunneling through must adhere to some requirements.

1) Must support HTTP CONNECT command.
2) Must allow you to connect to destination machine and host, with or without
    HTTP proxy authentication.

Bypassing Proxy server in Linux client.

Now, as we understood what is proxy and Proxy tunnel, Let's see where it is needed and how to overcome in linux box.

In school, colleges, and Industries, most of the time internet connection are diverted through proxy server, so its critical task to bypass proxy for all those applications who does not have the facility to configure proxy setting.

So, the below technique force individual applications to use proxies, even if the applications themselves don't support proxies.

For that you need to locate and modify two files namely bash.bashrc and apt.conf . Both these files are located in the directory /root/etc

For bash.bashrc, enter the following command in your terminal

gedit /etc/bash.bashrc

This will open the file bash.bashrc in gedit. Scroll down straight to the bottom and add the following lines in the file:

export http_proxy="http://username:password@proxyIP:port"
export ftp_proxy="ftp://username:password@proxyIP:port"
export https_proxy="https://username:password@proxyIP:port"
export socks_proxy="https://username:password@proxyIP:port"

The final file should look something like this then


Replace proxyIP and port with your Proxy IP address and port number respectively, and replace the username and password with your authentication username and password respectively. In case there's no need of authentication, just write the part which follows the @ symbol and leave the rest.

Now you need to modify the apt.conf file similarly. You might need to create the file if it's not already there. But gedit will take care of that anyway and create the file for you if it doesn't exist already. So you can just enter the following command in your terminal.

gedit /etc/apt/apt.conf

Now this will be an empty file, so write the following inside it

Acquire::http::proxy "http://username:password@proxyIP:port/";
Acquire::ftp::proxy "ftp://username:password@proxyIP:port/";
Acquire::https::proxy "https://username:password@proxyIP:port/";
Acquire::socks::proxy "https://username:password@proxyIP:port/";

The final file should look something like this then

 
That's all. Save and close the file. Log out and Login to activate the new settings and all your applications shall connect to the internet perfectly now.

Note that we could do this from the network proxy tool too and use 'Apply System Wide' but that is a little buggy with authentication. Since we're working on Linux, this is something you should be knowing anyway!

I hope you all learned & enjoyed the article on Apply Proxy Settings System Wide in Linux.
espérons qu'il vous plaira.
Enjoy the article.

Read More